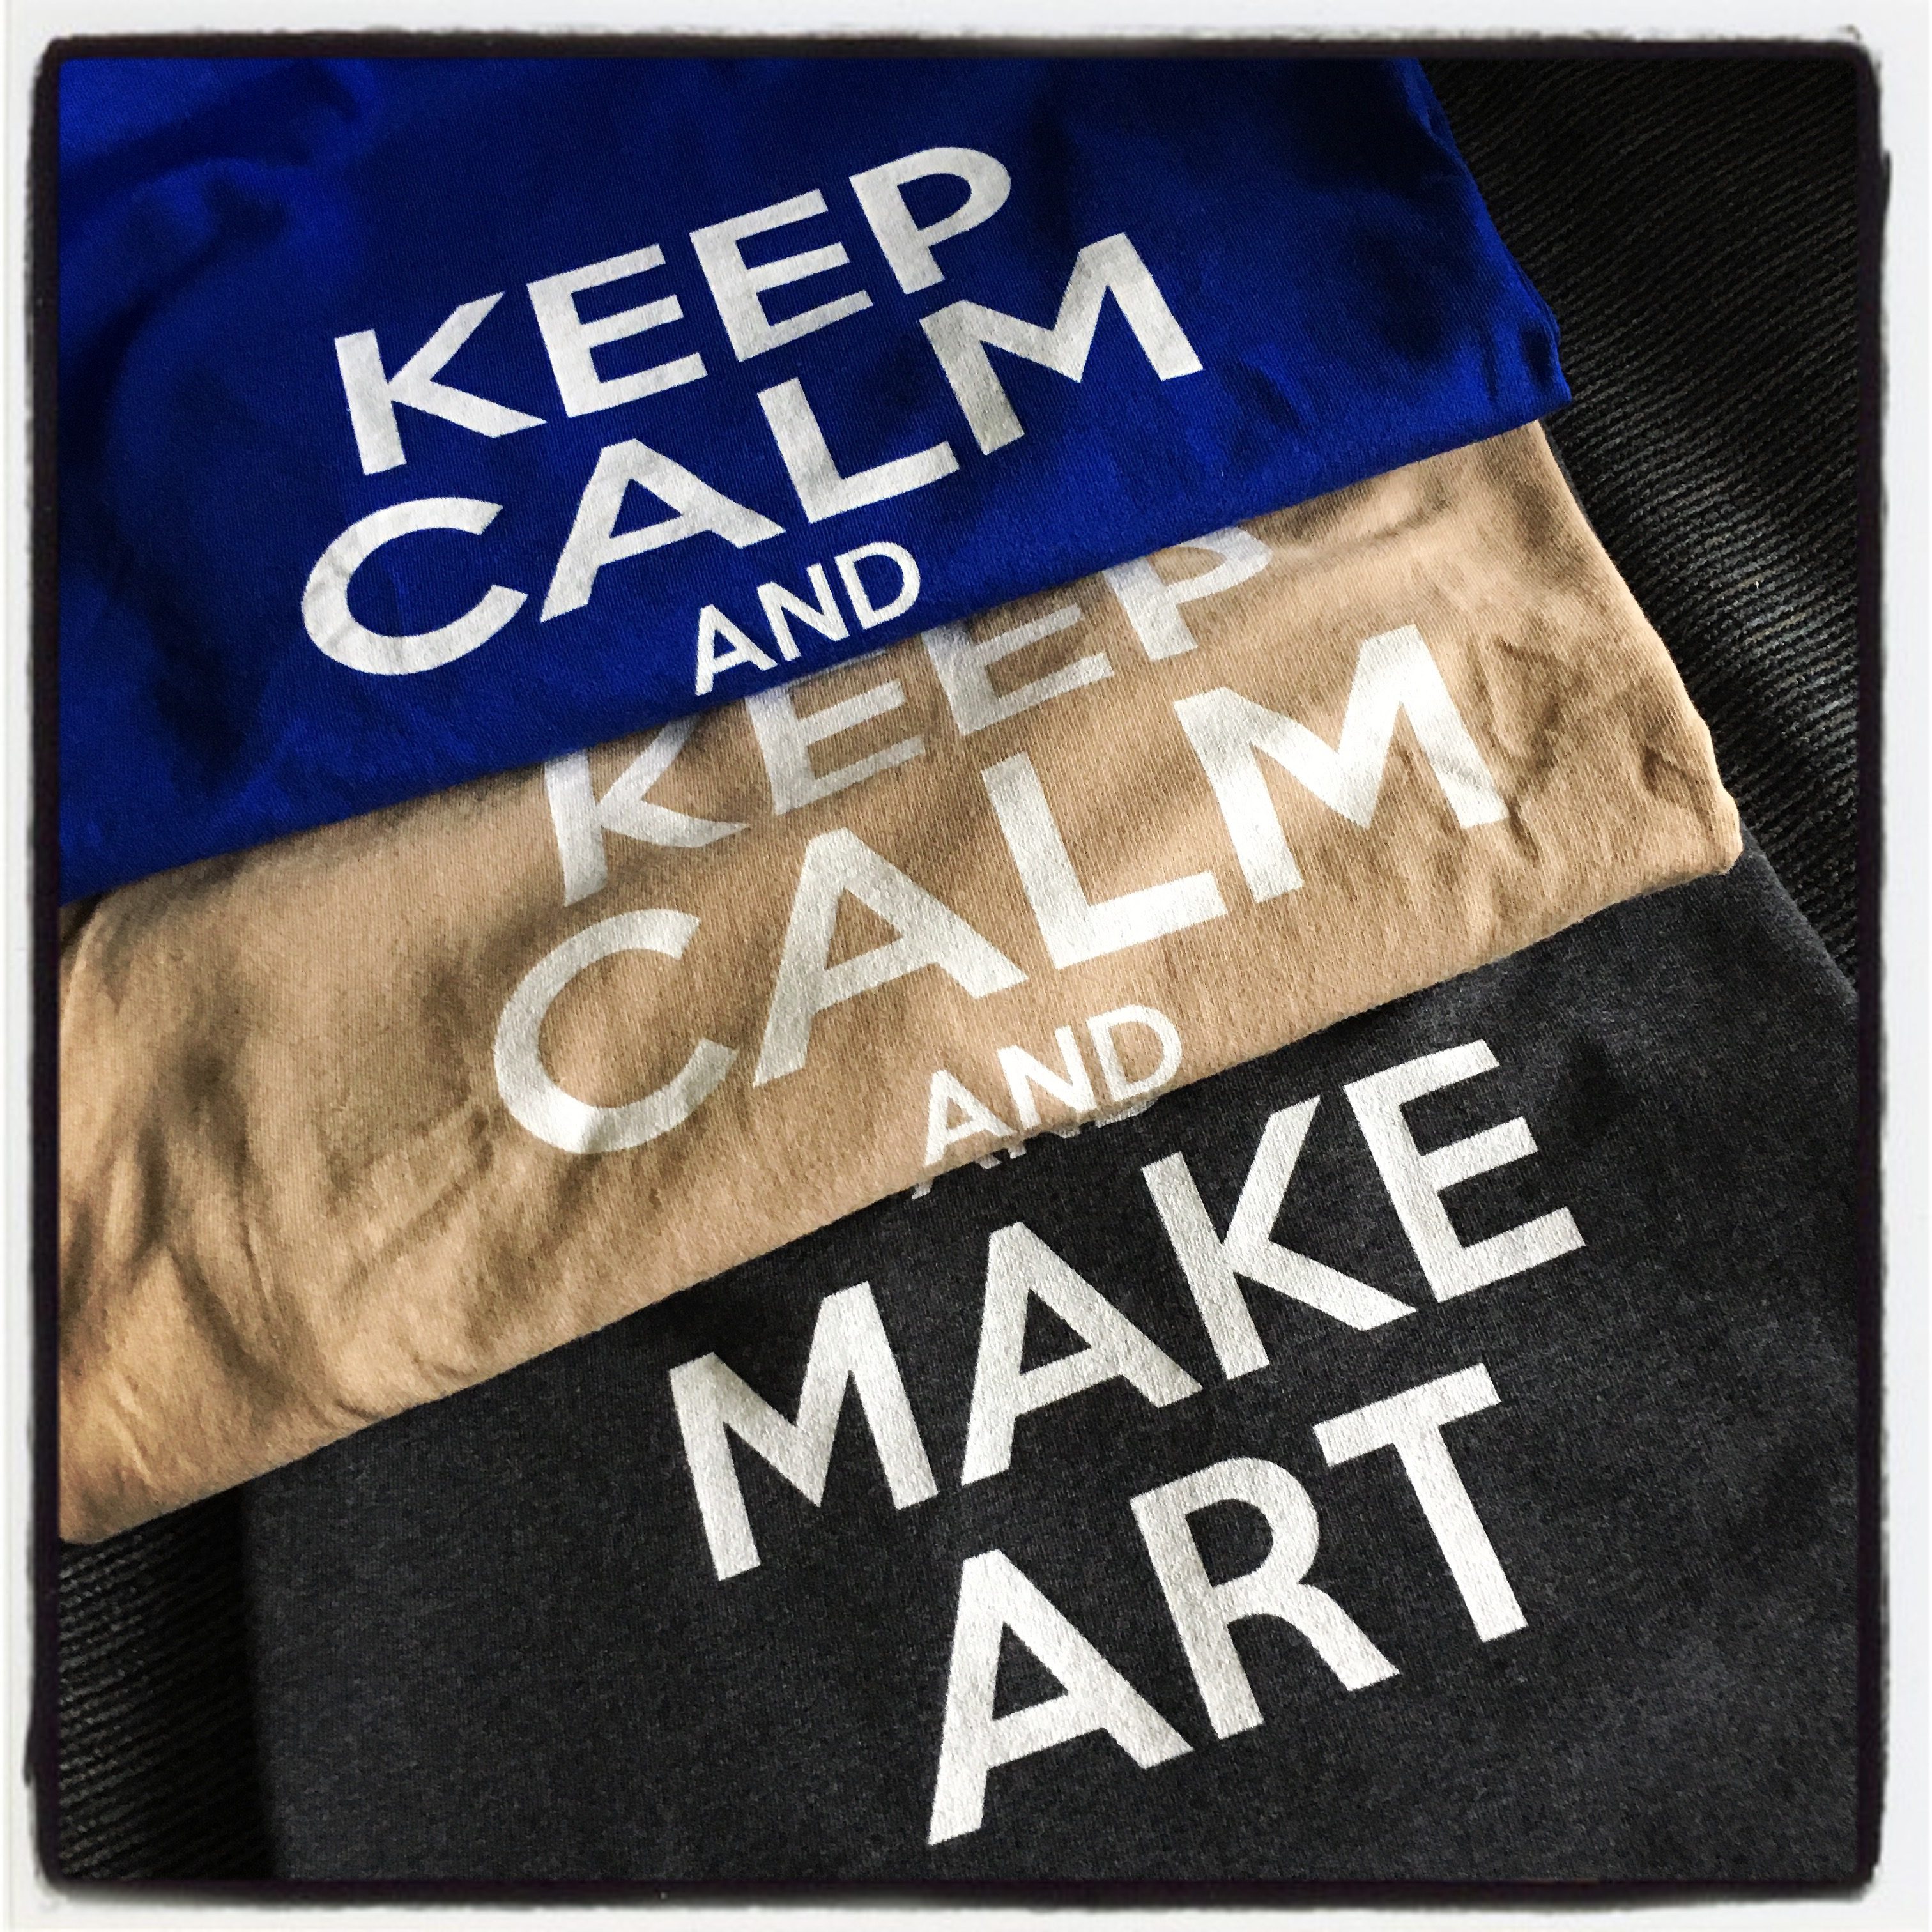
“CRE8 DS106” animated GIF, by aforgrave
This little experiment didn’t turn out quite as nicely as I would have liked — the curves of the font (Impact) and the selected size doesn’t allow all of the 8s to be either “in or out” of the boundaries of the letters as neatly as I wanted — but perhaps only some 1970’s blocky space font would have worked really well. You know, that font that was popular and that was created in the first place using carefully arranged letters from those noisy hammering-away-at-2-am-in-the-campus-lab fan-fold paper printers.
There is a static .png version posted to Flickr.
THE ‘SPLAINING
(NOTE: Initially, I started with a white background, although in the final GIF, I removed the background and so the resulting GIF has a transparent backing. However, in the following images, I have replaced the white/transparent background with a grey to provide contrast.)
The foundation for this little creation started with a wholesale application of the number 8 within an 1024×728 text layer. The text layer was then converted to an image (“rasterized”) so that the eraser could do it’s thing. (FIG 1).
I then introduced something other than just the figure 8 (oops, sorry, artistic license is allowed) by creating a second text layer, using the font Impact, to read CRE8 and then DS!06, adjusting the text point size, height, width and kerning to get the largest possible text with minimum space between characters. Once I was happy with that, that layer was also rasterized. (FIG 2).
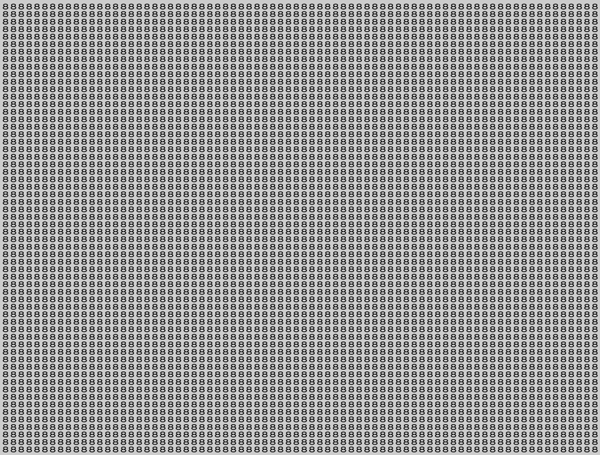
FIG. 1: Just 8s
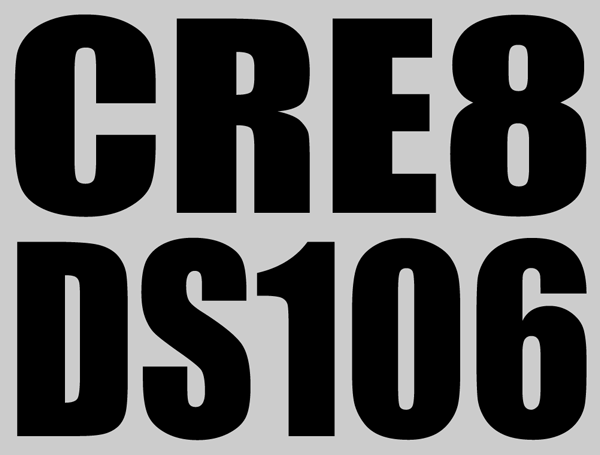
Fig 2: CRE8 DS106
Next, I made a couple copies of the “Just 8s” layer — all identically aligned, so that if I decided to back up or trash one, I would have copies to work from.
One copy of the “Just 8s” layer was left as a base. Then, with the rasterized CRE8 DS106 layer selected, I used the Magic Wand tool to grab the spaces around and within the letters, and by switching to one of the copies of the “Just 8s” layers, used the Eraser to remove the 8s from that layer in the selected spaces, leaving 8s only within the space occupied by the letters themselves (FIG 3).
By repeating the process described above, but by switching to the Inverse of the selected area before changing to a second copy of the “Just 8s” layer, it was possible to erase the 8s from within the space occupied by the letters (FIG 4)
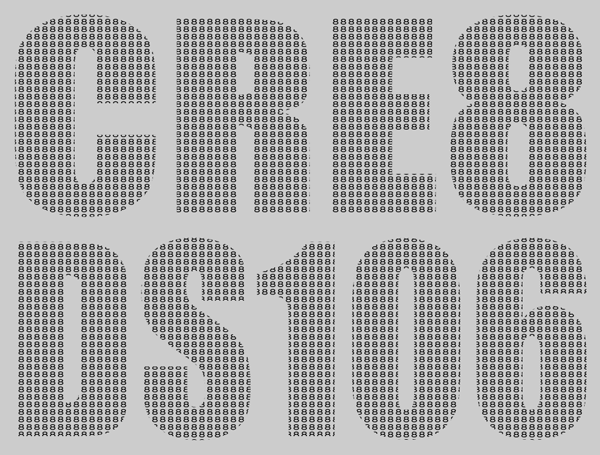
Fig 3: In 8s
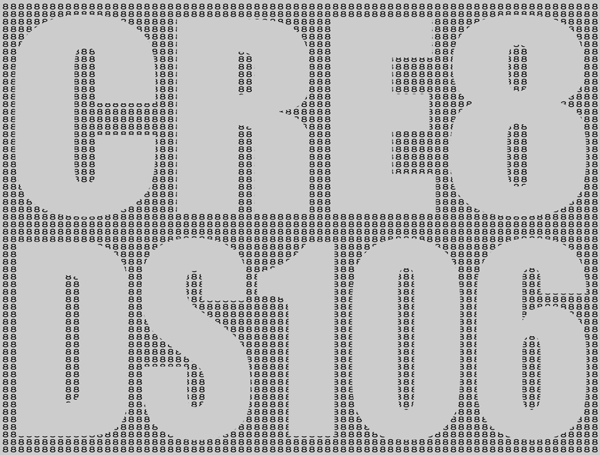
Fig 4: White Letters
After the pieces were sorted out, next came the animation, working with three of the five layers — the background (eventually removed), just 8s, cre8 ds106 in 8s, white letter. The large CRE8 DS106 latters layer was not used in the final GIF.
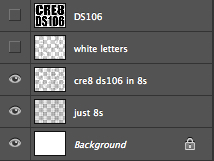
Fig 5: Layers
The final GIF has a these three layers applied in various levels of transparency, and in some instances, adjusted in position (either up, down, left, right) to result in 48 frames of GIFfin’ goodness. That’s a lot of frames, and maybe overdoes it a bit, as the GIF comes in at a whopping 873 KB when rendered in 4 (!) colours. Fewer frames would have resulted in a smaller filesize — and would have given room for more “colours” — but hey, it was an experiment in animation, and I’m happy with it.
If you are curious about the various frames and the timing, you can zoom in on this screen capture of the timeline.
Fig. 6: Timeline (click to zoom in and see detail)
If you have Photoshop or GIMP, and want fiddle with a file, here they be: (do your web browser’s “Right Click to Download/Save A File” thing to get it)
- Cre8_ds106.psd for Photoshop
- Cre8_ds106.xcf for GIMP
For further details in the ‘splaining, please ask away! In future, I will make an effort to do a bit more ‘splainin’ after doin’ the doin’.


Wow–fantastic stuff here. Sure, maybe it would have been better with the blocky font thing, but this is really great. Any way you can explain in short-ish form how you did it? I am hoping to get my create on even better than I have before, and I still have a lot to learn.
I got some ‘splaining to do, eh? I will make amends via an amendment.
Thank you so much, Andrew! One doesn’t need to do s’plainin’, I guess, for all one’s works, but it sure does help those of us who are new and wanting to learn. I really appreciate the extra time you took to explain this. Bookmarking it for future reference!